
Take a look at your Google Analytics account. How does what you see make you feel?
Probably overwhelmed! If you have yet to add filters to your data, you’re not using this powerful tool to it’s full potential. The secret to understanding and utilizing Google Analytics is to group data where it belongs with filters.
Before we can delve into filters, let’s review the framework for every Google Analytics account. For this we’ll be using an example business ‘Bob’s Lampshades’.
Account – Bob’s Lampshades
Within an account you can add properties to represent each business asset. Each property independently collects data and is assigned a unique tracking ID.
1st Property – www.bobslampshades.com
2nd Property – www.blog.bobslampshades.com
3rd Property – Bob’s Lampshades Mobile App
If you’d like to view data for multiple assets under the same property, you must assign the same tracking code to both. For example, if you have a separate URL for your blog and would like it’s data to be listed with the rest of your website. This is known as roll-up reporting.
For each property you can also create different views. Different views come in handy when you would like to give people access to different views of the same assets.
For example, your business has sales teams in different locations. You may want to give the team in Washington access to Washington’s data and not data from sales in Texas.
Customize each view within the configuration settings. An important point to note is that once data is processed, Google Analytics does not allow it to be reprocessed. In order to protect your data, we recommend starting with the following three views.
1st View – Unfiltered (no settings applied, keep in original form as a data backup)
2nd View – Master (most useful settings applied)
3rd View – Test (test settings here before applying to Master view)
Filters are some of the fundamental tools you should focus on learning prior to anything else. Whether you’d like to include data, exclude data, or change data altogether, filters are your go-to resource.
An example of when you would use a filter:
When reviewing your website traffic, you probably don’t want visits captured from your employees or even yourself. In order to block your team’s traffic data you would use a filter to exclude all traffic from select IP addresses.
How to set up filters:
Predefined filters. Templates set up by Google Analytics for common filters.
A common filter under ‘predefined filters’ would be used for excluding internal traffic from within your business. Here’s how you would do that.
Step 1: Select ‘Predefined filter’.
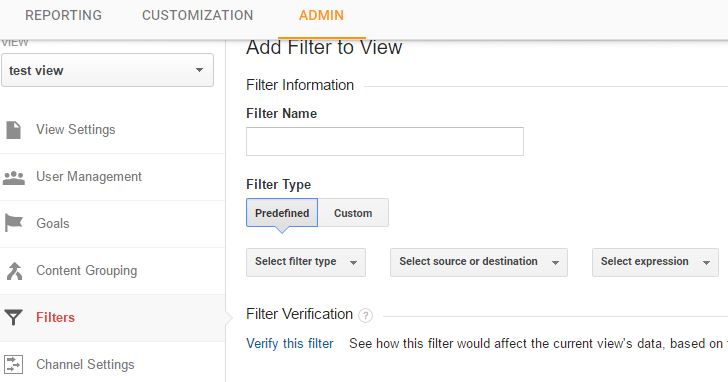
Step 2: In the filter field, make the following selections and enter the IP address. (To determine your IP address simply search ‘what’s my ip address’ in Google.)

Step 3: Save your selections. Now Google Analytics will exclude this data from your view!
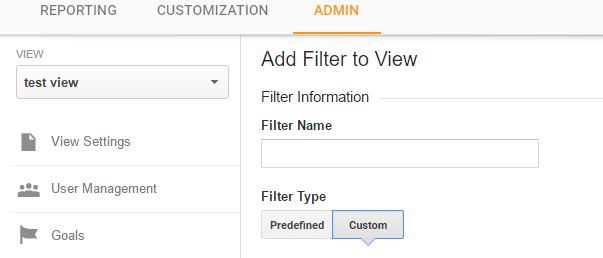
Custom filters. Filters you can create custom to fit your needs.
Here’s how to force all URLs to lowercase to prevent duplicate data.
Step 1: Select ‘Custom filter’.
Step 2: Select ‘Lowercase’ and make the following selections in the filter field.
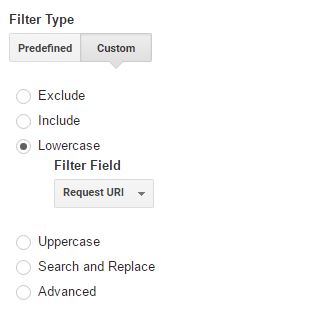
Step 3: Save your selections. Say goodbye to duplicate data caused by upper and lower case URLs!
- Don’t forget: Filter order does matter. The data that is outputted from the first filter enters the next filter.
After you have created a filter it is included in your filter library so that you may use it again in the future if you wish.
Now you know the basics for creating Google Analytics data filters. Feeling a little less overwhelmed now aren’t you? Take a look at our other blogs to continue learning how to navigate Google Analytics!


